
The short answer
To capture leads on your website, put a short form where visitors already are, offer something clear in return for their email, and make sure every sign-up lands in a list you actually follow up. With the new Vonza Forms you build the form, show it inline or as a popup, and every respondent who leaves an email becomes a contact in your CRM, tagged and ready for an automation.
This guide covers what makes a lead form work, where to place it, and how to set one up in Vonza step by step.
What makes a lead form work
A visitor decides in a few seconds whether a form is worth filling in. Content matters more than layout: if it is not obvious why they should sign up and what they get, they leave.
Use a clear, short header
Say what the form is for in two to five words: "Join the waitlist", "Request a quote", "Book a demo". Under it, one line on what happens next.
Ask only for what you will use
Every extra question costs sign-ups. For a newsletter, an email and a first name are enough. Make the rest optional, or ask it later. A quote request can ask more, because the visitor wants an accurate price.
Say what they get in return
A checklist, a first look at a launch, a price within a day. Put the promise in the header or the button ("Get my quote", "Join") rather than a generic "Submit".
Ask for consent where you will email
If you plan to send marketing emails, add a consent line people tick. Vonza Forms has a Consent block for this.
Keep the design clean and on-brand
A tidy form with your logo and colours looks like it came from you. Vonza Forms has 23 themes, cover and split layouts and a logo upload, so you do not need a designer.

Where to put the form on your site
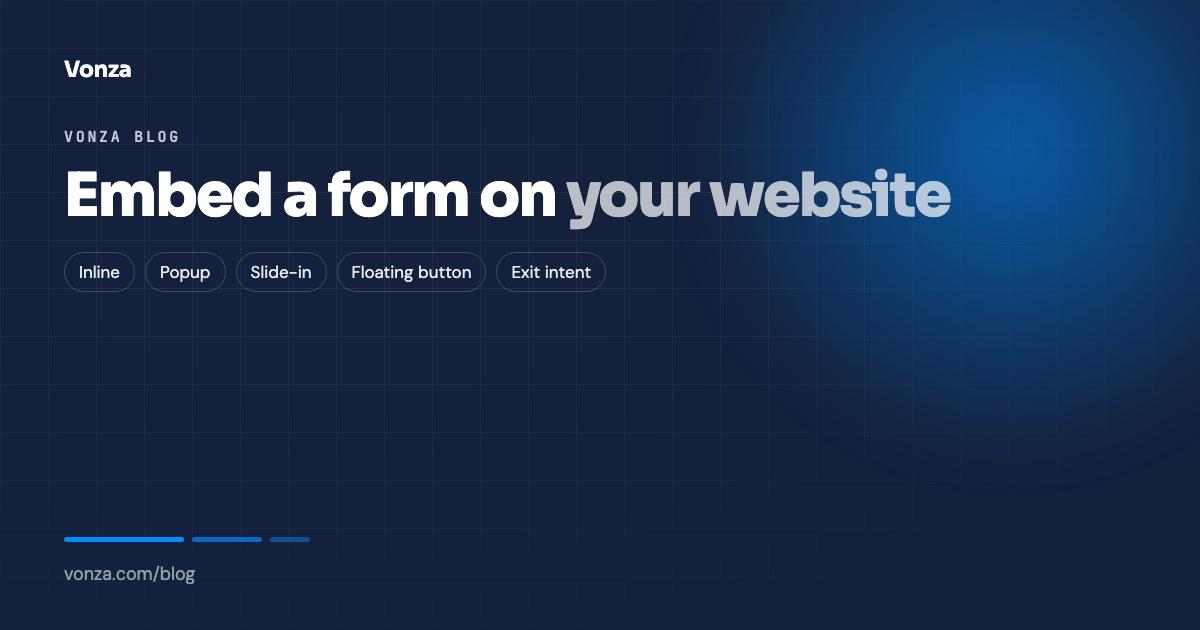
The same form can be shown in different ways. The Vonza embed code offers four:
- Inline: the form sits inside the page, for example at the end of a blog post or on a contact page.
- Popup: the form opens over the page.
- Slide-in (called Slider in the app): the form slides in from the edge without covering everything.
- Floating: a button stays on screen and opens the form.
A popup, slide-in or floating form can open on a button click, after a delay, when the visitor scrolls halfway down, or on exit, when they move to leave the page. Exit intent works well for a waitlist or a newsletter: the visitor has read your page and is about to go.
You can paste the embed code into any website. Every form also has its own page at /f/your-form-name on your Vonza site, plus a QR code, so you can share it in emails, posts and print.
Pick a template that fits the lead
You can start from scratch, but the form templates get you to a finished form faster. Four in the Contact & leads category fit most lead capture:
| Template | Best for | What it asks |
|---|---|---|
| Newsletter sign-up | Growing an email list | Email, first name, interests and consent |
| Waitlist | A launch or a course that is not open yet | Email, how they heard about you, consent |
| Demo request | Software and B2B services | Name, work email, company, team size, use case, preferred time |
| Service quote | Local and home services | Service, size of the job, details, photos, preferred date, postcode, name, phone |
Every template is fully editable: change the questions, the wording, the theme and the thank-you screen.
How to create a lead form with Vonza Forms
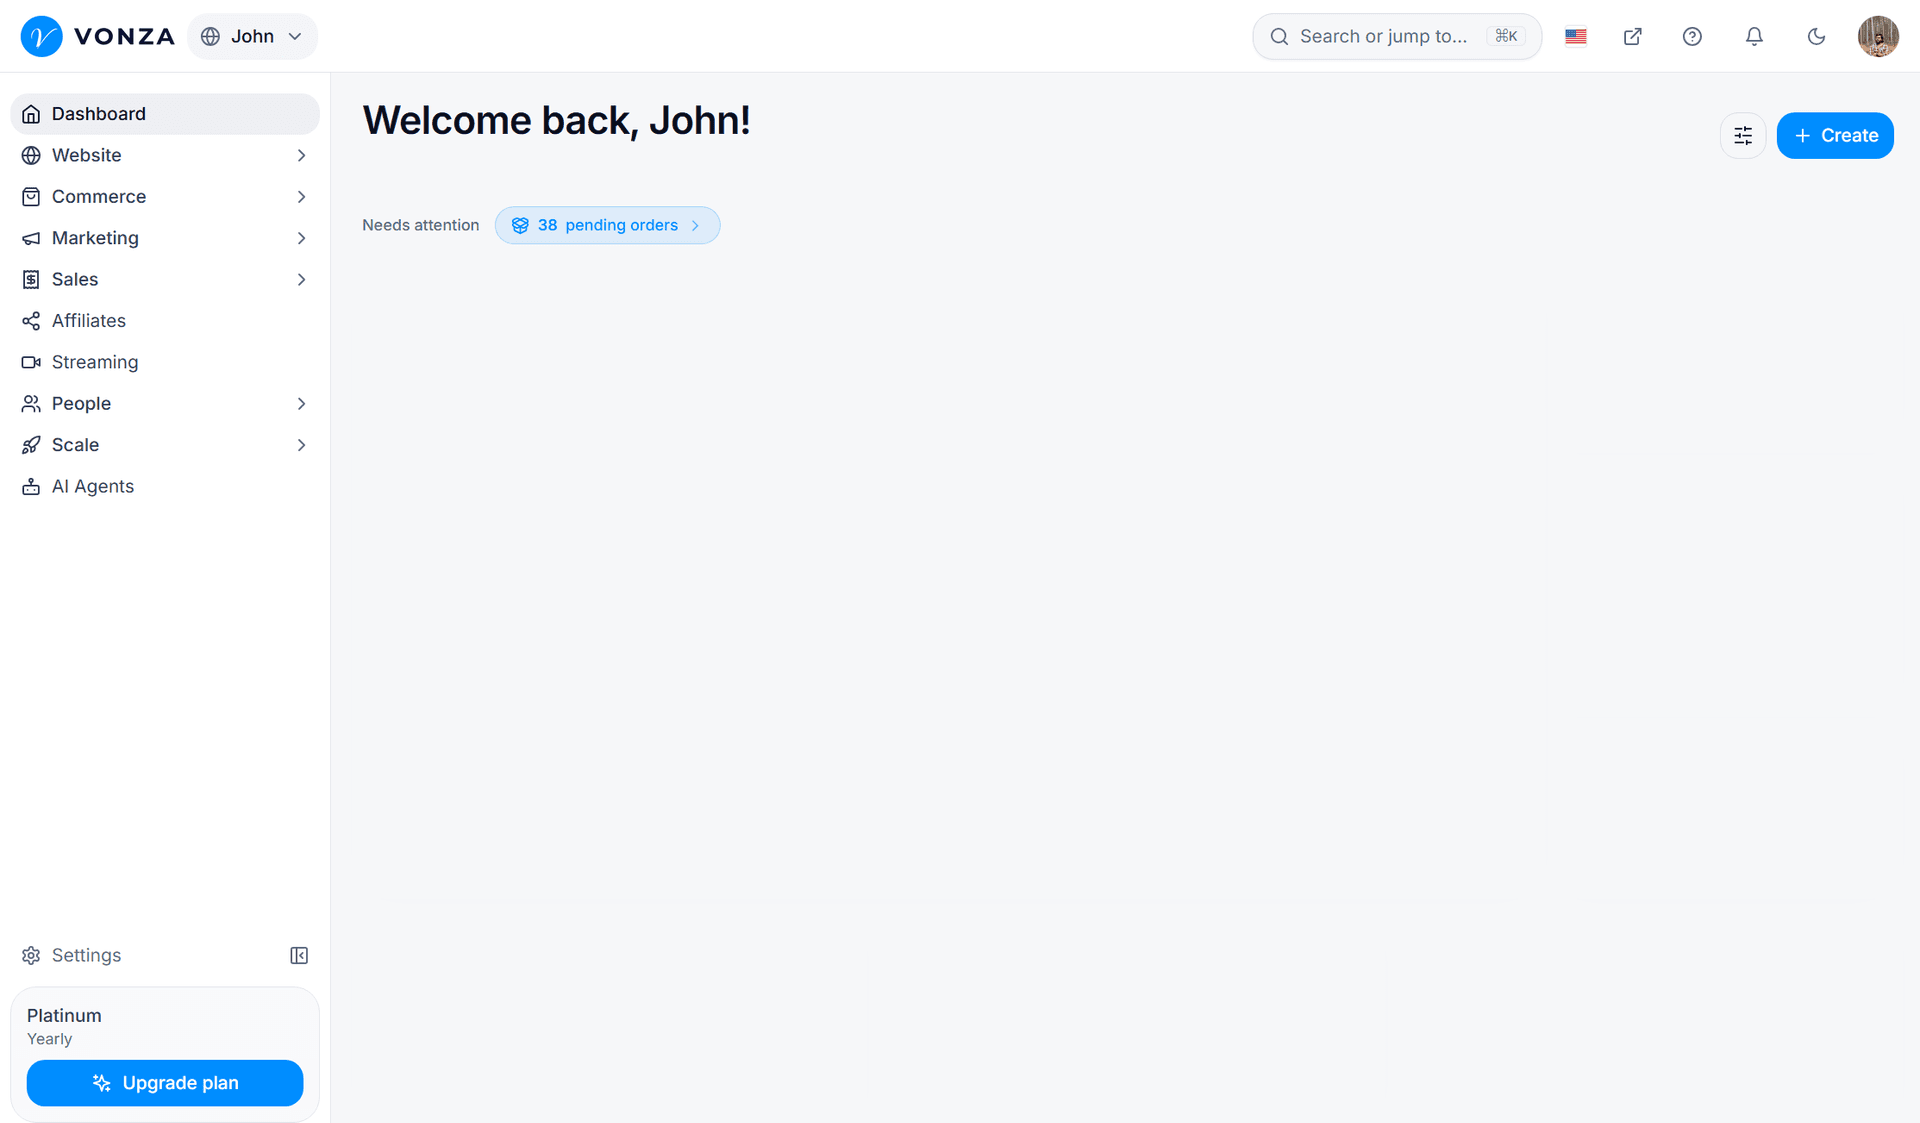
- Open Forms. In your Vonza dashboard, open Forms under Marketing. If your account still shows the classic Forms too, pick the row marked New. Then click New form.
- Name it and choose how to begin. The "Let’s create your form" screen offers three starts: Create with Vonza AI (describe the form in a sentence and Vonza AI writes the questions and styles it; this uses AI credits), Start from a template, or Start blank. Nothing is public until you publish.
- Edit the questions. Drag blocks in and out, mark what is required, and keep an Email question so the respondent can become a contact. Add a Consent block if you will send marketing emails.
- Style it. Choose a theme, add your logo and set the thank-you screen. You can send people to another page after they submit.
- Tag new contacts. In the form’s settings, under Contacts, every respondent who leaves an email becomes a CRM contact. Use "Tag them with" to add up to 10 tags, for example "waitlist" or "quote request".
- Set up notifications. Under Notifications, get an email for every response (and add up to 5 teammates), and send the respondent a confirmation email.
- Start the follow-up. On the Automations page, use the trigger "Contact fills this form" to start an email sequence, add people to a list or enroll them in a course.
- Publish and share. Click Publish, then copy the form link, the QR code or the embed code and choose inline, popup, slide-in or floating.
For more on building forms that turn visitors into leads, see lead generation forms.
See what is working
Each form has its own responses and analytics. You can see views, starts, completion rate, average time, devices and traffic sources, and "Where people leave" shows which page of a multi-page form loses the most people. If one page loses most visitors, cut a question or move it later.
Responses can be filtered, marked as done, exported to CSV or Excel, or downloaded one at a time as a PDF. If you use other tools, webhooks can post each response to Zapier, Make or your own server.
Conclusion
A lead form works when it is short, clear about what the visitor gets, shown at the right moment, and followed up quickly. Vonza Forms covers each part: templates to start from, embeds that open inline or on exit, contacts and tags in your CRM, and automations that send the first email for you.
Start a 14-day free trial and publish your first lead form today.