
Vonza Funnels builds a sales funnel as a set of steps on one canvas: an opt-in or sales page to start, a checkout to take payment, upsells and downsells after it, and a thank-you page to finish. This tutorial walks through building one from a template to a published funnel. For the strategy behind it (the four stages, conversion rates and the fixes that raise them), read how to create a winning sales funnel.
Step 1: Create the funnel
Open Funnels and click New funnel. Give it a name, then choose one of three ways to start:
- Create with Vonza AI. Describe your offer and who it is for in a sentence or two, type what you sell or pick it from your own items, then choose the goal and the tone. Vonza AI picks the steps and writes every page; the funnel opens right away and you can look around while it writes. It uses AI credits per page.
- Start from a template. Pick a finished funnel, filter by goal and industry, preview it and use it. Every page is ready to edit and comes in your brand colours and fonts. Templates you save yourself appear under My templates.
- Start blank. You get one opt-in step with a sign-up form, and add the steps you need on the canvas.
Step 2: Add the steps on the canvas
The canvas shows the funnel step by step. Add the steps the sale needs:
| Step | What it does |
|---|---|
| Opt-in | Collect an email in exchange for something free |
| Sales page | Explain your offer and send people to checkout |
| Checkout | Take the payment |
| Upsell | Offer one more thing right after a purchase |
| Downsell | A smaller offer when the upsell is declined |
| Webinar | Register people for a live session |
| Application | Qualify people before a call |
| Thank you | Confirm and tell people what happens next |
| Page | Any page you design yourself |
Two rules keep the flow sound: a funnel has one checkout step, and a sales page must come before it. A thank-you page ends the funnel, so it can't be the first step. On each step, the Flow tab sets where the main button goes next.
A simple product funnel looks like this: sales page → checkout → upsell → downsell → thank you. A lead-first funnel starts with an opt-in, and a high-ticket funnel uses an application before a call (see how to build an application-based funnel).
Step 3: Set the offer on the checkout
Open the checkout step and its Offer tab:
- Pick the item. A course, bundle, product or community you have already created in its own area of Vonza.
- Set the price. Use the item's own pricing plans or add plans for this funnel. An override price can replace them with one price.
- Add order bumps. Up to 5 optional extras buyers can tick at checkout, each with a name, price and short description, and ticked when the page opens if you like. See order bumps.
- Choose payment methods. Only methods your platform has connected are offered: card, PayPal, Paystack, Apple Pay, Google Pay, Link and Klarna, depending on your payment accounts and currency.
- Choose the buyer details. Ask for a phone number or an address (required for physical products), and add extra questions if you need them.
- Coupons. Show or hide the coupon box on this checkout.
Step 4: Add upsells and downsells
Upsell and downsell steps offer more right after the purchase. Turn on One-click purchase and buyers who just paid by card can add the offer with one click, without entering their card details again. It works for one-time, pay-what-you-want and free plans; otherwise the pay form shows. If the buyer declines the upsell, the downsell offers something smaller. See one-click upsells.
Step 5: Write and design the pages
Click any page on the canvas to edit it. To rewrite the copy of every page at once, use Write copy with AI: it rewrites the text, leaves alone any section you edit while it works, and keeps your pictures. AI writing uses AI credits.
Step 6: Add tracking
In the funnel's Settings, the Tracking tab takes your Facebook Pixel id, Google tag id (Analytics 4 or Google Ads) and Google Tag Manager id, and which events to send: page view, lead and purchase with the amount. You can also add your own code to the page head or the end of the page. Each step uses the funnel's tracking unless you give it its own on the step's Tracking tab. Scripts run on live pages only, never in previews.
Step 7: Set up automations
Under Automations, start from a recipe or from scratch. An automation starts when something happens:
- Someone becomes a lead
- A lead views a page
- Someone buys
- An offer is declined
- A lead moves to a stage
- A lead leaves checkout without buying
Then it runs the actions you choose: send an email or SMS, add to a list, enrol in a course or bundle, move to a stage, notify you, send a webhook, wait, or continue only if a condition is met. Recipes are created switched off, so you can check them before they run.
Step 8: Publish, then test and measure
Publish the funnel and share its link. Then use the Measure section:
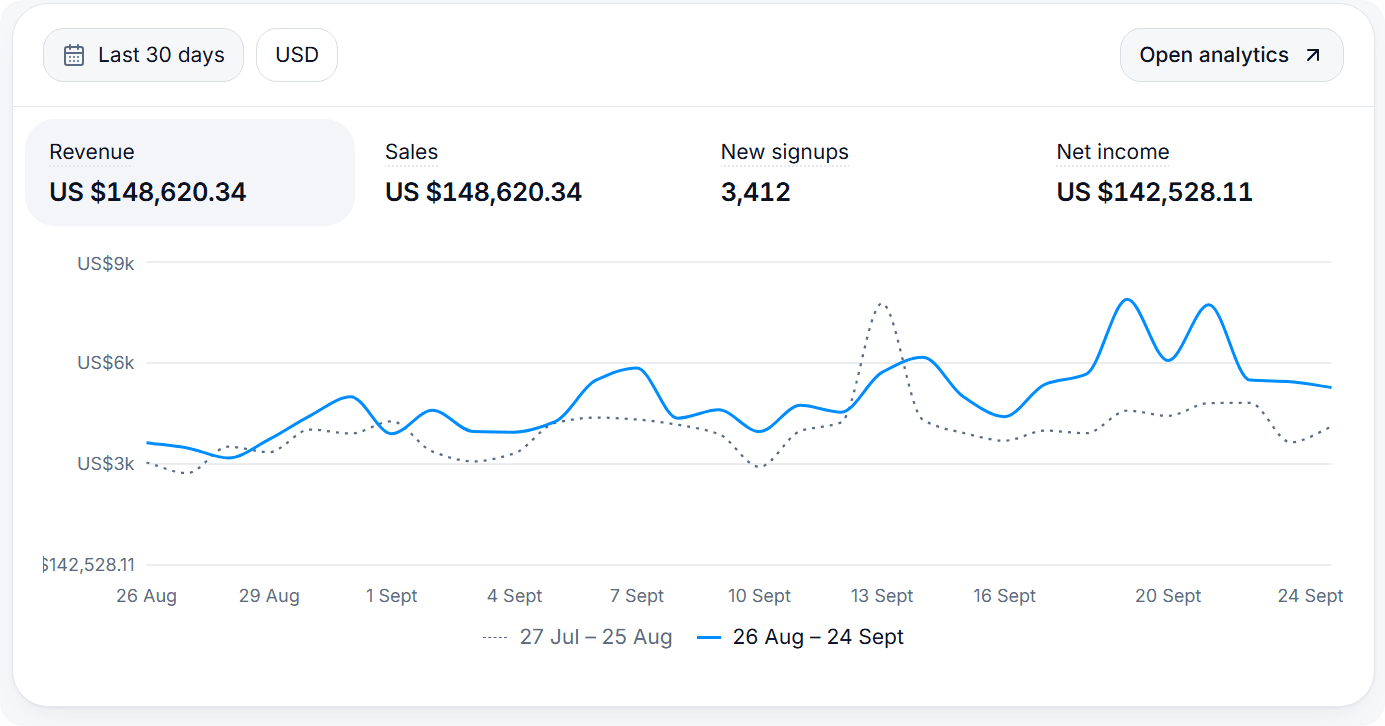
- Stats shows page views, unique visitors, leads, orders, revenue and conversion for the last 7, 30 or 90 days, with a comparison to the previous period.
- Split tests shows a second version of a step's page to a share of visitors. Each visitor keeps seeing the same version, conversions are counted as opt-ins, orders or visits to the next step, and Pick winner keeps the better page and ends the test.
Change one thing at a time, let enough visitors through, and keep the version that converts better.
Where to go next
See what Vonza Funnels includes, how a standalone Vonza checkout works outside a funnel, and the landing pages you can build to feed it. You can try Vonza with a 14-day free trial; see pricing.